Living in a small apartment can be a challenge, especially when it comes to storage. But fear not! With a bit of creativity and some DIY magic, you can design and assemble custom shelving that not only maximizes your living space but also adds a touch of style to your home. Today, I’m sharing some brilliant DIY shelving solutions that will help you make the most of every square inch of your apartment. Let’s get started!
Why Custom Shelving?
Before we dive into the how-to, let’s talk about why custom shelving is the way to go.
- Maximize Space: Custom shelving allows you to utilize vertical space and awkward corners that would otherwise go unused.
- Personalize Your Space: Tailor your shelves to fit your specific needs and style preferences.
- Cost-Effective: DIY shelving can be more affordable than purchasing pre-made units.
- Stylish and Functional: Custom shelves can enhance the aesthetic of your apartment while providing practical storage.
Step 1: Assess Your Needs and Space
The first step in creating custom shelving is to assess your storage needs and the space you have available.
Consider:
- What You Need to Store: Books, plants, kitchen supplies, decorative items, etc.
- Available Wall Space: Measure the height, width, and depth of the areas where you plan to install shelves.
- Style and Aesthetic: Decide on the look you want to achieve – modern, rustic, minimalist, etc.
Step 2: Choose Your Shelving Style
There are several styles of shelving to choose from, each with its own advantages. Here are a few popular options:
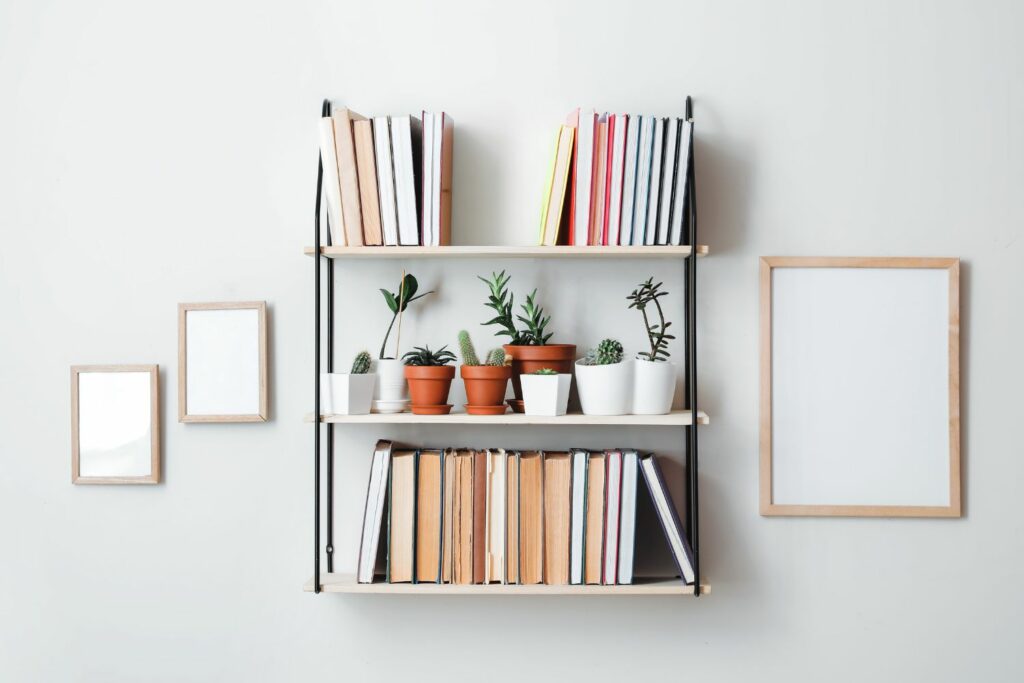
1. Floating Shelves: Floating shelves are sleek and modern, with no visible brackets. They’re perfect for displaying books, plants, and decor.
2. Corner Shelves: Corner shelves make use of often-neglected corner spaces, providing additional storage without taking up too much room.
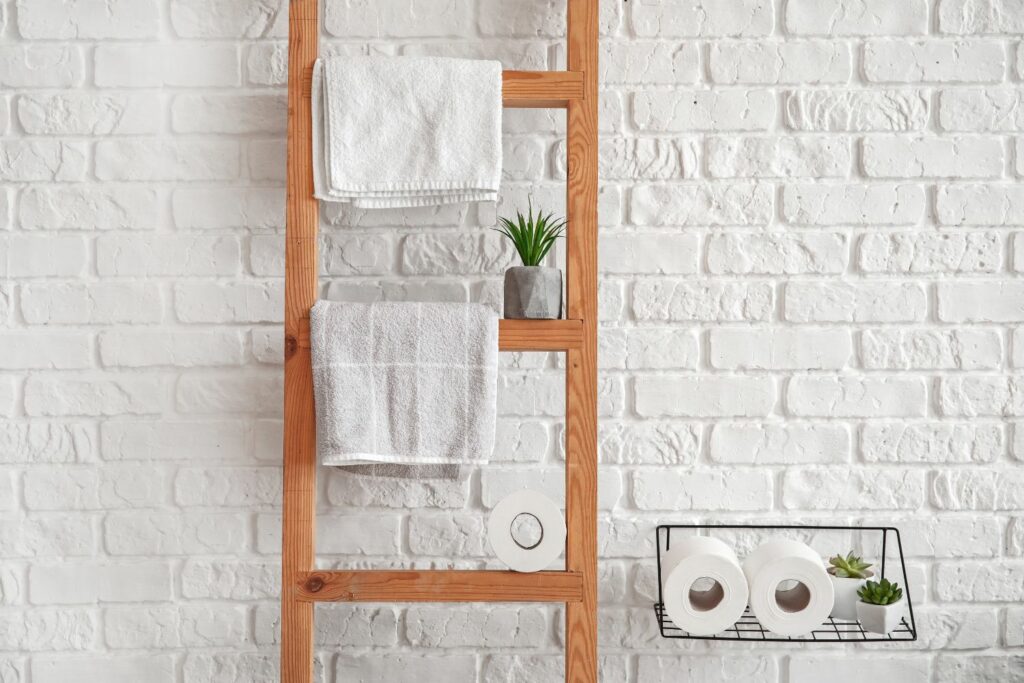
3. Ladder Shelves: Ladder shelves lean against the wall and offer a stylish, tiered storage solution.
4. Built-In Shelves: Built-in shelves are integrated into the wall, offering a seamless look and plenty of storage.

Step 3: Gather Your Materials
Once you’ve chosen your shelving style, it’s time to gather your materials. Here’s a basic list for each type of shelf:
Floating Shelves:
- Wooden boards (cut to your desired length)
- Wall brackets or floating shelf hardware
- Screws and wall anchors
- Drill and level
Corner Shelves:
- Wooden boards (cut to fit your corner space)
- L-brackets
- Screws and wall anchors
- Drill and level
Ladder Shelves:
- Wooden planks (for shelves)
- Wooden or metal ladder frame
- Screws and brackets
- Drill and level
Built-In Shelves:
- Wooden boards
- Stud finder
- Screws and wall anchors
- Drill, level, and saw (for cutting boards to fit)
Step 4: Assemble Your Shelves
Now for the fun part – assembling your shelves!
Floating Shelves:
- Mark and Drill Holes: Mark the positions of your brackets on the wall. Drill holes and insert wall anchors.
- Attach Brackets: Secure the brackets to the wall using screws.
- Mount Shelves: Place the wooden boards on the brackets and secure them with screws.
Corner Shelves:
- Mark and Drill Holes: Mark the positions of your L-brackets on the wall. Drill holes and insert wall anchors.
- Attach Brackets: Secure the L-brackets to the wall using screws.
- Mount Shelves: Place the wooden boards on the brackets and secure them with screws.
Ladder Shelves:
- Assemble Frame: If using a pre-made ladder frame, skip this step. Otherwise, construct the ladder frame using wooden planks and screws.
- Attach Shelves: Secure the wooden planks to the ladder frame using brackets and screws.
- Position and Secure: Lean the ladder shelf against the wall and secure it with brackets or straps for stability.
Built-In Shelves:
- Find Studs: Use a stud finder to locate studs in the wall.
- Mark and Drill Holes: Mark the positions of your shelves on the wall. Drill holes and insert wall anchors.
- Cut and Mount Boards: Cut wooden boards to fit the space between studs. Secure the boards to the wall using screws.
Step 5: Style and Organize
Your shelves are up – now it’s time to style and organize them!
Tips for Styling:
- Balance: Mix and match items of different heights and sizes to create a balanced look.
- Groupings: Group similar items together, such as books or plants, for a cohesive appearance.
- Layers: Layer items by placing smaller items in front of larger ones.
- Personal Touches: Add personal touches like photos, souvenirs, and artwork to make the space feel uniquely yours.
Organizing Ideas:
- Books: Arrange books by color, size, or genre.
- Plants: Use a variety of plants in different pots to add greenery and freshness.
- Decor: Add decorative items like candles, vases, and sculptures.
- Storage Baskets: Use baskets or bins to store smaller items and reduce clutter.
With these DIY shelving solutions, you can maximize your living space, keep your home organized, and add a touch of style to any room.
Remember, the key to successful shelving is to plan carefully, choose the right materials, and get creative with your design.


Leave a Comment