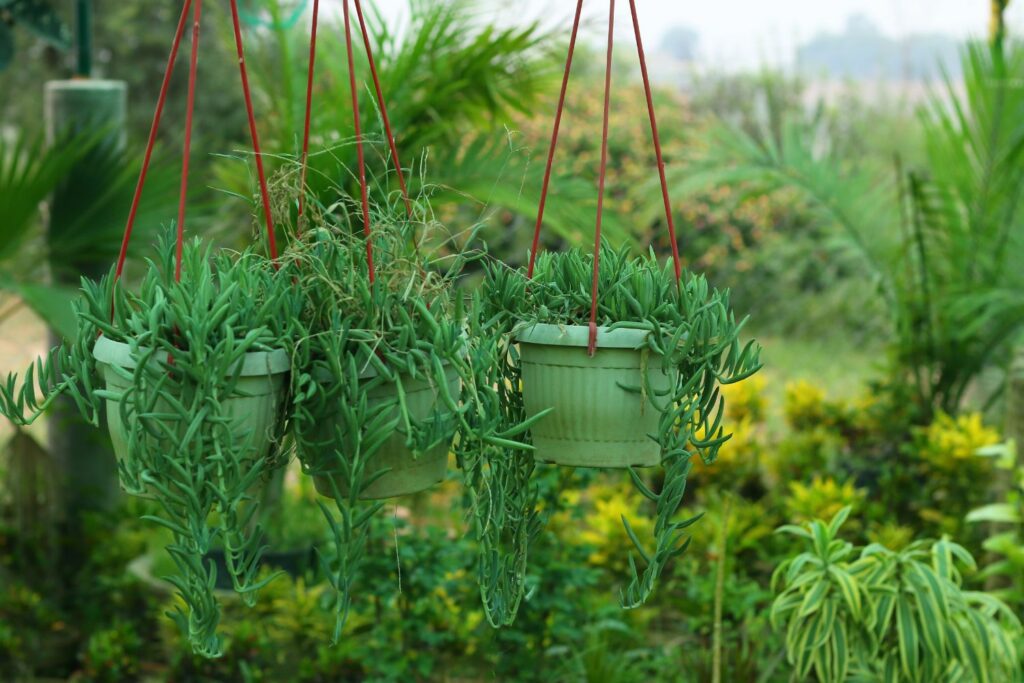
If you’re short on space but big on greenery, indoor vertical gardening is your new best friend. Vertical gardens are a fantastic way to bring the outdoors inside, maximize your living space, and create a stunning green wall that’s both functional and beautiful. Today, we’ll explore techniques for building a vertical garden in small spaces, perfect for any DIY enthusiast. So, let’s get growing!
Why Vertical Gardening?
Before we dive into the how-to, let’s chat about why vertical gardening is such a game-changer.
- Space-Saving: Perfect for small apartments, balconies, or any limited space.
- Aesthetic Appeal: Creates a living piece of art that can transform any room.
- Air Quality: Plants are natural air purifiers, improving indoor air quality.
- Easy Maintenance: Vertical gardens can be easier to maintain than traditional gardens.
Step 1: Choose Your Plants
First things first, you need to choose the right plants for your vertical garden. Consider plants that thrive indoors and in the specific lighting conditions of your space.
Great Plants for Indoor Vertical Gardens:
- Herbs: Basil, mint, parsley, and thyme.
- Succulents: Aloe vera, jade plant, and echeveria.
- Foliage Plants: Pothos, philodendron, and ferns.
- Flowers: Orchids, bromeliads, and peace lilies.
Step 2: Select Your Vertical Garden Structure
Next, decide on the type of vertical garden structure that suits your space and style. Here are a few popular options:
1. Hanging Pockets: Fabric or felt pockets that hang on the wall and hold individual plants.
2. Trellis Systems: A wooden or metal framework that plants can climb or be attached to.
3. Shelves: Floating shelves that can hold pots and planters in a vertical arrangement.
4. Pallet Gardens: Wooden pallets that can be mounted on the wall and filled with plants.
Step 3: Gather Your Materials
Once you’ve chosen your plants and structure, it’s time to gather your materials.
Materials:
- Vertical garden structure (hanging pockets, trellis, shelves, or pallet)
- Plants
- Potting soil
- Planters or pots (if needed)
- Hooks, nails, or screws (for mounting)
- Watering can or spray bottle
Step 4: Assemble Your Vertical Garden
Now, let’s put it all together!
Steps:
- Prepare Your Structure: If you’re using a pallet or trellis, make sure it’s clean and ready to be mounted. For hanging pockets, ensure they’re sturdy enough to hold the weight of the plants and soil.
- Mount Your Structure: Use hooks, nails, or screws to securely attach your vertical garden structure to the wall. Make sure it’s level and stable.
- Add Soil: If using pots or pockets, fill them with potting soil. For a pallet garden, line the inside of the pallet with landscape fabric to hold the soil.
- Plant Your Greenery: Place your plants in the soil, ensuring they’re secure and have enough room to grow. Water them gently to settle the soil around the roots.
Step 5: Care and Maintenance
Your vertical garden is now up and running, but to keep it thriving, follow these care tips:
Watering:
- Check Moisture Levels: Use your finger or a moisture meter to check the soil’s moisture. Water when the top inch of soil is dry.
- Avoid Overwatering: Ensure proper drainage to prevent root rot. Hanging pockets and planters with drainage holes are ideal.
Lighting:
- Bright, Indirect Light: Most indoor plants thrive in bright, indirect light. Place your vertical garden near a window but out of direct sunlight.
- Supplemental Lighting: If natural light is limited, consider using grow lights to provide the necessary light for your plants.
Fertilizing:
- Regular Feeding: Feed your plants with a balanced, water-soluble fertilizer every 4-6 weeks to keep them healthy and vibrant.
Pruning:
- Trim Regularly: Remove dead or yellowing leaves and trim back overgrown plants to maintain a neat and healthy appearance.
Tips for Success
To ensure your indoor vertical gardening DIY project is a success, here are a few extra tips:
- Start Small: If you’re new to vertical gardening, start with a small project. This will help you get the hang of it without feeling overwhelmed.
- Choose the Right Plants: Select plants that are well-suited to indoor conditions and your specific environment.
- Monitor Growth: Keep an eye on how your plants are growing. Adjust their placement if they need more or less light.
- Rotate Plants: Occasionally rotate your plants to ensure they receive even light exposure on all sides.
- Be Patient: Plants take time to adjust to their new environment. Be patient and give them time to thrive.
Inspiration and Ideas
Looking for some inspiration? Here are a few creative ideas to get you started:
1. Herb Garden: Create a vertical herb garden in your kitchen. Use small pots or hanging pockets to grow herbs like basil, mint, and parsley. This not only adds greenery to your space but also provides fresh herbs for cooking.
2. Succulent Wall: Design a stunning succulent wall with various types of succulents arranged in a pattern. Succulents are low-maintenance and perfect for creating a visually appealing display.
3. Indoor Jungle: Go all out and create an indoor jungle with a mix of foliage plants. Use a combination of shelves, hanging pockets, and trellises to create layers of greenery.
4. Colorful Blooms: Add a splash of color to your home with a vertical garden of flowering plants. Choose plants like orchids, bromeliads, and peace lilies for a vibrant and eye-catching display.
With these techniques, you can transform any small space into a lush, green oasis. Whether you’re growing herbs for your kitchen, succulents for your living room, or an indoor jungle, vertical gardening is a fun and rewarding way to bring nature inside.
Remember, the key to a successful vertical garden is choosing the right plants, providing proper care, and enjoying the process.


Leave a Comment